Have you chosen your louvered pergola? The installation project on your terrace can now begin. Location, preparation, tools and assembly: we will guide you through all the steps to follow to ensure that your pergola is installed correctly and that you can enjoy your adjustable louvered pergola as soon as possible.
What are the steps involved in installing a louvered pergola?
Some specific features: Certain louvered pergolas require specific assembly methods. The steps for installing the pergola may therefore differ slightly.
- The wall-mounted pergola: This pergola is screwed to one of the walls of the house. For this model, care must be taken to ensure that the junction between the beam and the wall is watertight so that no water can get through.
- Motorised pergola: This pergola is equipped with motorised adjustable slats, so you will need to take care of the electrical installation, ensuring that it complies with IP65 standards.
How to choose the location for your louvered pergola?
Before you begin installing your louvered pergola, you must ensure that you comply with all local regulations. For more information on this subject, please refer to our articles: Do you need to register a louvered pergola with your local council? and Pergolas: regulations and administrative procedures.
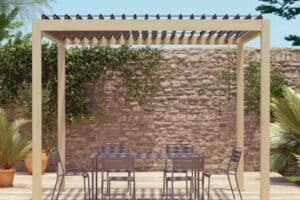
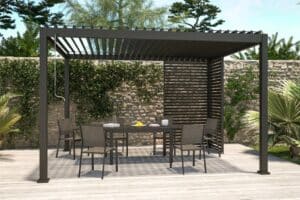
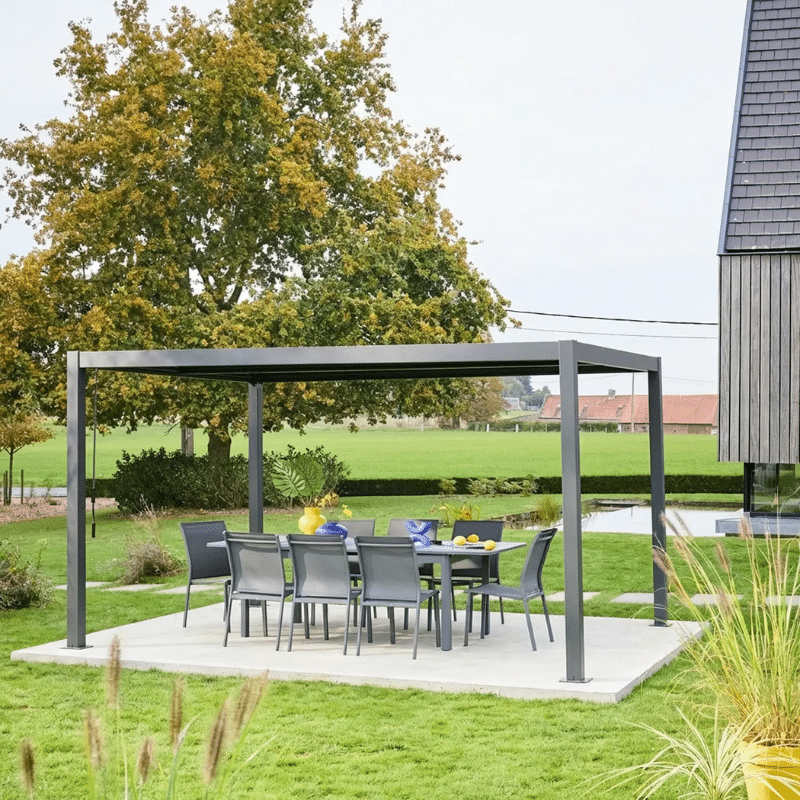
Once you are sure that everything is in order, you can choose the location for your louvered pergola. It should be easily accessible and should not interfere with other structures in your garden. Take the dimensions of your new pergola into account when deciding on the location. If your outdoor space is not very large, a pergola attached to your house will be more practical. A freestanding louvered pergola can be installed anywhere, but you must comply with local planning regulations. It can be placed on the terrace, in the middle of the garden or near a swimming pool if you have one. Ideally, choose a flat, solid surface.
You can then organise your installation, bearing in mind that it will take a full day and that two people will be needed to assemble it. The posts will be easier to handle with two people than alone.
You can then organise your installation, bearing in mind that it will take a full day and that two people will be needed to assemble it. The posts will be easier to handle with two people than alone.
What tools are required to install a pergola?
Start by gathering all the materials and tools you need.
- Drilling equipment: drill and its bits, screwdriver and its bits
- Measuring and marking tools: tape measure, spirit level or laser level, pencil and marker.
- Cutting tools: jigsaw, circular saw or metal saw
- Materials needed for anchoring to the floor: chemical anchors or fixing plates, depending on the type of floor.
- Protective equipment: gloves, safety glasses and hard hat
Before you start assembly, read the instructions carefully several times so that you are familiar with them when the big day arrives.
How to prepare the ground for installing your pergola?
The surface where you will install the pergola must be prepared in advance.
- For a concrete slab: A drill and drill bit will suffice, but you will need to check that the slab is completely flat.
- For a terrace: Depending on the surface of your terrace, you will need to use the appropriate tools: plugs, type of screws, etc.
- For loose soil: Cement foundations will need to be laid for the installation of the posts. To determine the depth of the foundations, use one third of the length of the posts.
Follow the instructions and assemble the structure.
After preparing the ground, you can assemble the structure by following the steps in the instructions.
The pillars, beams and slats of the pergola will need to be assembled. To begin with, we recommend marking the locations of the fixing points Mark the points using a marker on the concrete slab or terrace. For this step, it is important to check that the points are properly aligned and spaced.
Ensuite vient le montage de la structure avec les poteaux, les traverses et les lames orientables. Tous les éléments doivent être bien fixés et leur droiture doit être vérifiée avec un niveau.
For a wall-mounted pergola: the wall beam must be fixed before the posts. To do this, simply drill holes in the wall that will support the beam using a concrete drill bit. Start by marking the fixing points on the wall before drilling. The wall can be protected with a chipboard support. The screws and plugs must be suitable for your type of wall to ensure that the fixing holds well over time. The tools required will differ depending on whether your wall is made of concrete or brick. Finally, the two posts of the structure should be fixed in the same way as the four posts of a free-standing louvered pergola.
The most important thing is to follow the instructions carefully so that you don’t get stuck at any point. Once the structure and assembly are fully assembled, you can add accessories to your louvered pergola, such as blinds or shutters.